Sourdough Starter
My Sourdough Adventure: From Starter to Loaves
Lately, I’ve been utterly obsessed with sourdough. A few years ago, I received a sourdough starter from a friend. However, my bread-baking attempts fell short of bakery-worthy. Not having created the starter myself, I lacked a deep understanding of its behavior and activity. Eventually, I let that starter go dormant.
Fast forward a few years, and I decided to embark on a new sourdough journey—this time, creating my very own starter. It felt like a delightful science project. I reveled in watching its progress, hour by hour and day by day. Now, three months into this adventure, I’m still captivated by the process. Plus, the loaves of bread I’ve baked have improved significantly.
Creating My Own Starter: The Science and Joy
Creating a sourdough starter is both tricky and incredibly rewarding. It’s a fantastic learning experience when you take matters into your own hands. Allow me to share my approach:
- Finding the Right Recipe: I scoured various recipes for sourdough starters. Among them, I settled on the Sourdough Starter Recipe | King Arthur Baking. It stood out as straightforward and reliable. Interestingly, this recipe uses whole wheat flour, which happened to be in my pantry. Whole wheat flour introduces more beneficial bacteria minerals and encouragement, giving the starter a robust boost. A friend of mine started her own starter simultaneously but used All-Purpose Flour (APF), and she struggled to get it going. I credit my success to the whole wheat choice.
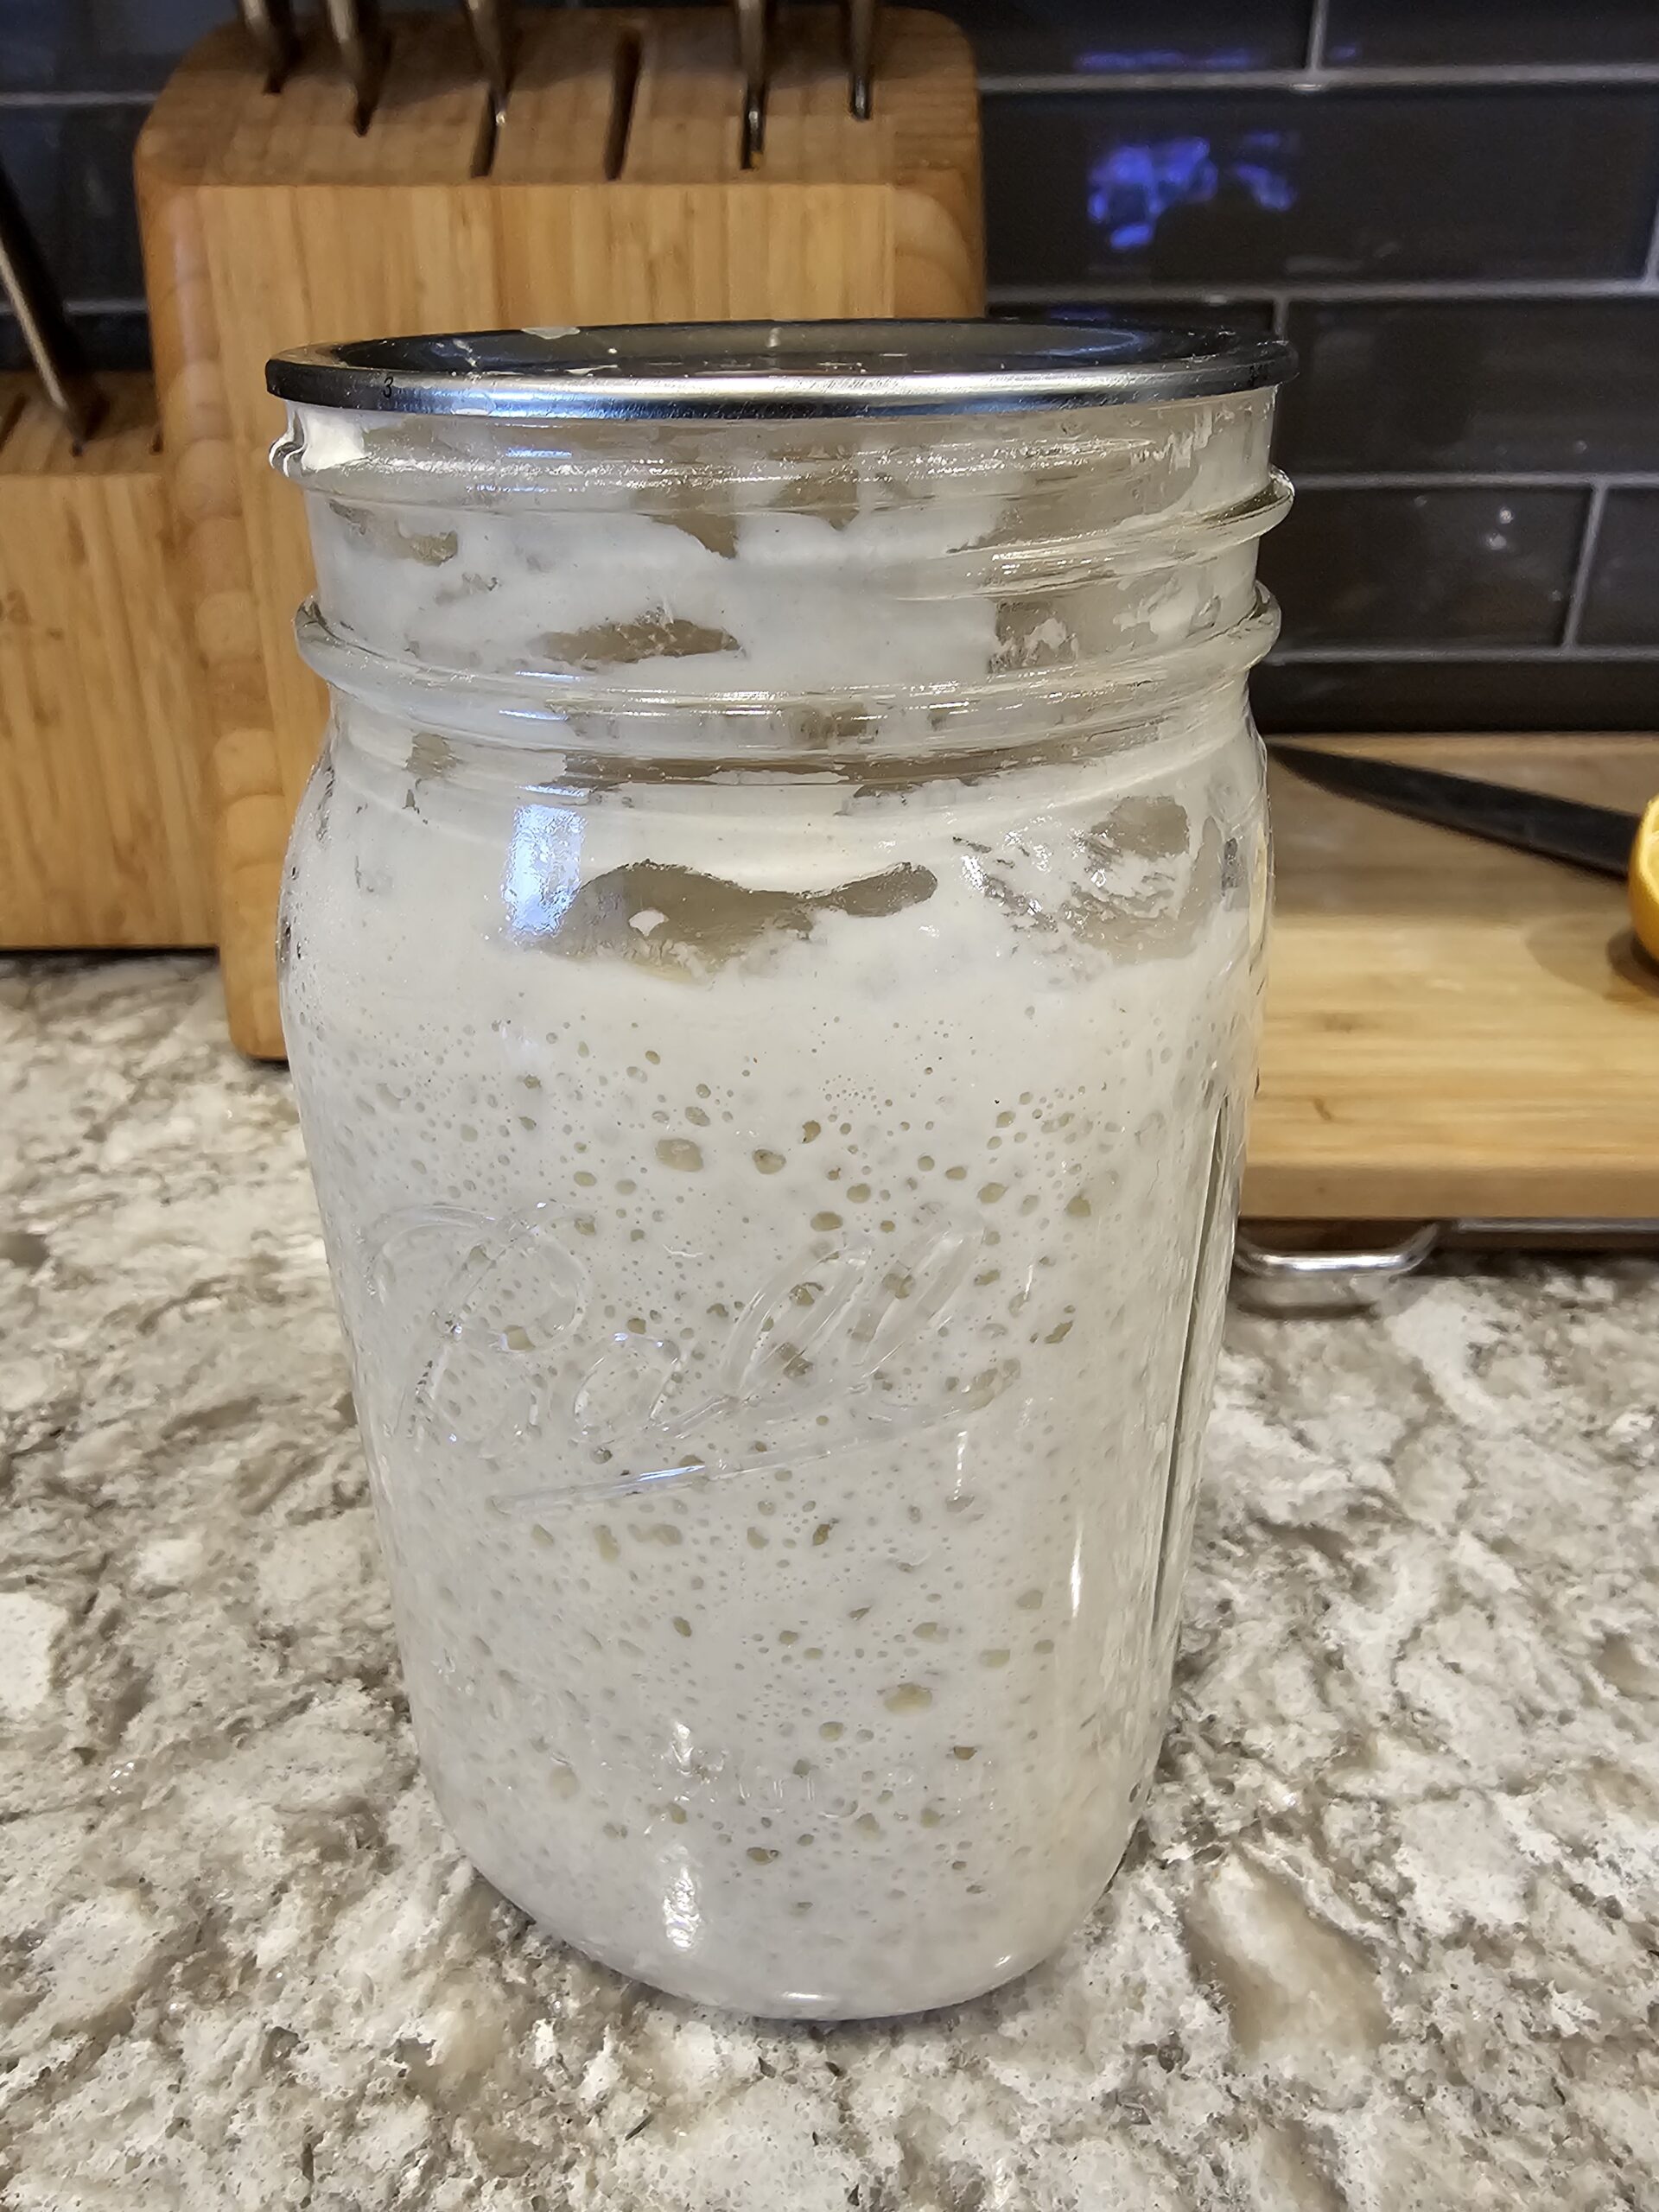
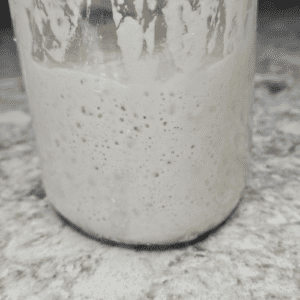
- The Flour Journey: Whole wheat flour played a crucial role in the initial build of my starter. However, for subsequent feedings, I switched to APF. The result? The bubbly, active starter you see in the picture. I’ve baked several delicious loaves with it. The magic lies in the fact that the sourdough starter grows stronger with each feeding. If your starter is struggling, consider feeding it with whole wheat for a couple feeds.
- Feeding Ritual: Initially, I fed my starter once a day for the first couple days. On the third day as mentioned below I started feeding it twice a day, spaced 12 hours apart. I continued this routine for 14 days. Once it began doubling in size within 2 to 3 hours, I scaled back to once a day. This consistent feeding schedule has been my secret sauce for over three months.
- Maintaining your Sourdough Starter: After the initial 3-month period, I adjusted the feeding amount to approximately 60 grams. Since my sourdough starter follows a 1:1:1 ratio (1-part existing starter, 1 part flour, and 1 part water), I used equal amounts in all three parts. Keep in mind that your specific recipe might require a larger starter quantity, so you may need to add more to meet the requirements for your recipe.
Here are some additional tips:
- Refrigerating Your Starter:
- When life gets busy or you’re planning to be away, the fridge becomes your sourdough starter’s best friend. A freshly fed starter can indeed survive in the fridge for a while without feeding.
- I’ve personally tested this for up to 2 weeks, but many bakers report success with even longer periods—4 to 8 weeks or more.
- The Separation Phenomenon:
- Don’t panic if you open your fridge and find your starter separated. The darkish liquid layer on top is called “hooch.” It’s a sign that your starter is still alive and kicking.
- Simply stir the hooch back into the rest of the starter. It’s like giving your starter a little wake-up call.
- Red Flags: Mold Alert:
- However, be vigilant. If you notice red or orangish streaks in your starter, it’s a different story. That’s mold, and it’s not a friendly guest.
- At this point, you’ll need to say goodbye to your starter and toss it. But fear not—you can always start anew!
- Science and Tips:
- For more detailed insights and scientific explanations, check out the post on Make & Maintain A Small Sourdough Starter (Mini Starter) – The Pantry Mama by The Pantry Mama.
- Learning about the science behind sourdough can deepen your appreciation for this living dough.
Recipe and Personal Touch:
- Below, I’ve shared the basic recipe for creating a sourdough starter. I’ve also sprinkled in my own tips and comments based on my experience.
- When you’re ready to bake some bread check out my post on Easy Straightforward Sourdough Bread – The culinary dabbler.
Sourdough Starter
Equipment
- 1 digital food scale
Ingredients
Sourdough Starter
- 113 Grams Whole Wheat Flour about 1 cup
- 113 Grams Water a little over 1/2 cup
Ongoing Feed
- 113 grams All Purpose Flour (APF)
- 113 grams Lukewarm Water
Instructions
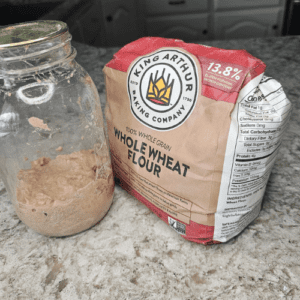
- Day 1: Measure the flour using a food scale and add it to a quart jar (I use Ball canning jars with wide mouths). Measure the lukewarm water using the food scale as well. Add to the jar and stir. It will be very thick but will relax as it sits and ferments. This is considered 100% hydration. Which means equal parts flour and water. At this point set it in area that is around 70 degrees for 24 hours

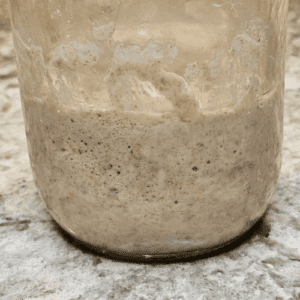
- Day 2: Your starter might be showing some signs of life at this point. The picture shown is end of the 2nd day. See the bubbles? That's life baby! Again, discard about 1/2 cup of the starter. Today, feed starter 113 grams of All Purpose Flour (APF) and 113 grams of lukewarm water. Stir it completely.

- Day 3: You should see some more activity, including bubbling, a fresh fruity aroma and some expansion. I don't know about you, but I found this fascinating!Begin 2 a day feeding: Now that your starter is showing positive signs of life it's time to begin feeding it 2 times per day. Aim to do this about 12 hours apart. If you don't hit it exactly everyday it will be fine but try to stay consistent. Measure out about 113 grams of starter and discard the rest. Add in the flour and the water. Set aside in a warm spot until the next feeding, in about 12 hours.
- Day 4: Repeat day 3. Discard all but 113 grams of starter and add in 113 grams of flour and water. Set aside. Repeating this again in about 12 hours.
- Day 5: You should start seeing a lot more progress. By the end of day 5 the starter should have doubled in volume, there will be more bubbles and the smell will be more of a tangy aroma. It's a good smell not overpowering. Continue to feed your starter 2 times a day.
- Day 6: Continue following the Day 3 feeding routine for approximately 14 days. Feed your starter twice a day (approximately every 12 hours). Desired Outcome: Aim for a good, strong starter. Look for consistent signs such as rise in volume after each feeding and a bubbly consistency. The starter picture shown is after 14 days. Can you see the bubbles, especially the ones under the surface? That's a good sign you're ready to bake.

- Readiness Assessment:After the 14-day period:If your starter consistently doubles in volume and exhibits a bubbly texture, it's likely ready for breadmaking. See notes.If not, continue with the Day 3 routine until it doubles within a 2-to-3 hour period and bubbly.

1 thought on “Sourdough Starter”