Sourdough Starter
Step-by-step instructions on how to make your own sourdough starter. This recipe works! Every great sourdough loaf starts with a strong starter.
Equipment
- 1 digital food scale
Ingredients
Sourdough Starter
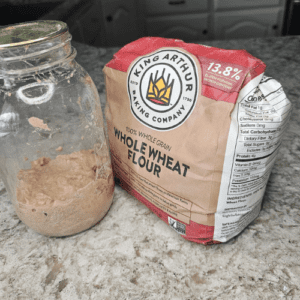
- 113 Grams Whole Wheat Flour about 1 cup
- 113 Grams Water a little over 1/2 cup
Ongoing Feed
- 113 grams All Purpose Flour (APF)
- 113 grams Lukewarm Water
Instructions
- Day 1: Measure the flour using a food scale and add it to a quart jar (I use Ball canning jars with wide mouths). Measure the lukewarm water using the food scale as well. Add to the jar and stir. It will be very thick but will relax as it sits and ferments. This is considered 100% hydration. Which means equal parts flour and water. At this point set it in area that is around 70 degrees for 24 hours

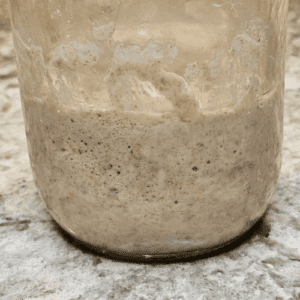
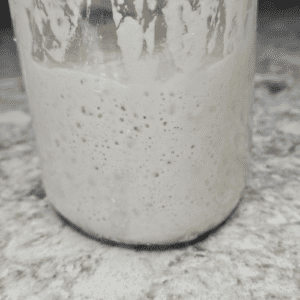
- Day 2: Your starter might be showing some signs of life at this point. The picture shown is end of the 2nd day. See the bubbles? That's life baby! Again, discard about 1/2 cup of the starter. Today, feed starter 113 grams of All Purpose Flour (APF) and 113 grams of lukewarm water. Stir it completely.

- Day 3: You should see some more activity, including bubbling, a fresh fruity aroma and some expansion. I don't know about you, but I found this fascinating!Begin 2 a day feeding: Now that your starter is showing positive signs of life it's time to begin feeding it 2 times per day. Aim to do this about 12 hours apart. If you don't hit it exactly everyday it will be fine but try to stay consistent. Measure out about 113 grams of starter and discard the rest. Add in the flour and the water. Set aside in a warm spot until the next feeding, in about 12 hours.
- Day 4: Repeat day 3. Discard all but 113 grams of starter and add in 113 grams of flour and water. Set aside. Repeating this again in about 12 hours.
- Day 5: You should start seeing a lot more progress. By the end of day 5 the starter should have doubled in volume, there will be more bubbles and the smell will be more of a tangy aroma. It's a good smell not overpowering. Continue to feed your starter 2 times a day.
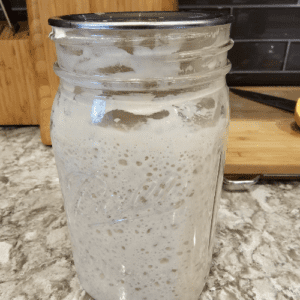
- Day 6: Continue following the Day 3 feeding routine for approximately 14 days. Feed your starter twice a day (approximately every 12 hours). Desired Outcome: Aim for a good, strong starter. Look for consistent signs such as rise in volume after each feeding and a bubbly consistency. The starter picture shown is after 14 days. Can you see the bubbles, especially the ones under the surface? That's a good sign you're ready to bake.

- Readiness Assessment:After the 14-day period:If your starter consistently doubles in volume and exhibits a bubbly texture, it's likely ready for breadmaking. See notes.If not, continue with the Day 3 routine until it doubles within a 2-to-3 hour period and bubbly.
Notes
Notes:
To determine if your starter is ready to bake bread, perform a drop test.
Take a little spoonful of starter and drop it in water. If it floats it is ready to bake some bread.
Be aware, the younger your starter is the longer it will take to rise, so be patient and try it out. Keep in mind your starter will get stronger the more mature it gets. Have fun! It's only flour and water!